If you own a shed in Middleburg, you’re likely aware of the need for efficient storage solutions to maximize your space. A well-organized shed can make a significant difference in maintaining your tools, gardening supplies, and seasonal items. Installing shelving in your shed is an effective way to create extra storage without sacrificing floor space. This guide will walk you through the process of installing shelving in your Middleburg shed, provide some creative shelving ideas, and help you turn your cluttered space into an organized haven.
Understanding Your Shed’s Layout
Before diving into the installation process, take a moment to assess your shed’s layout. Consider what items you wish to store and how often you’ll need to access them. Identify the walls where the shelves will be mounted; ensure you select a wall that is clear, structurally sound, and easily accessible.
Identifying Available Space
Measure the available wall space in your shed. Take into account the height, width, and any obstructions like windows or electrical outlets. Think about how high you want to install your shelves; higher shelves can be great for rarely used items, while lower shelves work best for items you need to access frequently.
Choosing the Right Shelving Type
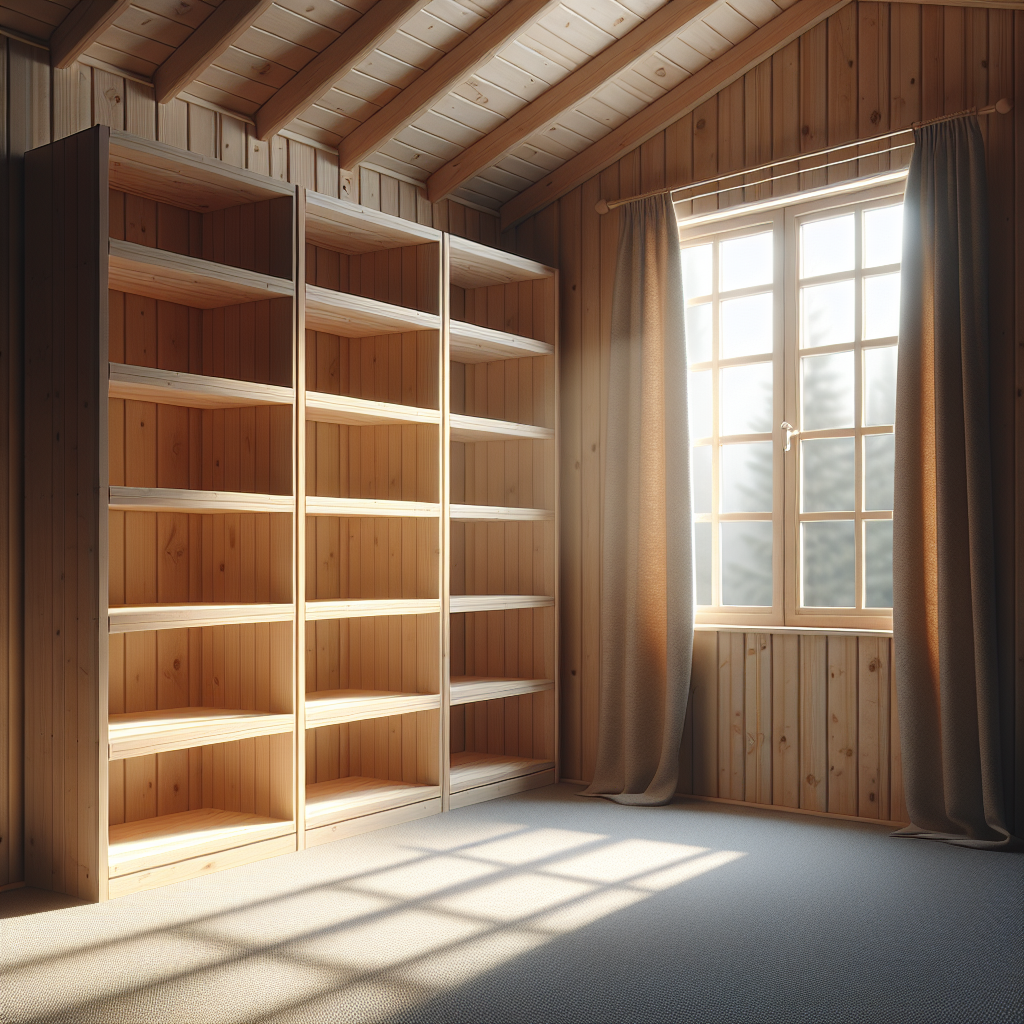
In Middleburg, the humid climate can impact your choice of materials. Opt for wooden shelving if your shed has adequate ventilation to prevent moisture build-up. Metal shelving is another excellent option as it’s durable, easy to clean, and allows water to evaporate quickly. Decide on a shelving style that complements your shed’s interior while fitting your storage needs.
Gathering Your Tools and Materials
Once you’ve planned your layout and chosen the type of shelving, it’s time to gather your materials. Here’s what you’ll need:
– Shelving boards (wood or metal based on your choice)
– Mounting brackets (L-brackets or floating shelf brackets)
– Screws appropriate for your wall type
– A level
– A drill
– A saw (if you need to cut shelves to length)
– A measuring tape
– Sandpaper (for wooden shelves)
Consider Pre-cut Shelving Options
For those who want to save time, consider purchasing pre-cut shelves from your local hardware store. This option takes the hassle out of cutting your shelving to size and ensures uniformity in your installation.
Installation Steps for Shelving in Your Middleburg Shed
Now that you have everything you need, let’s walk through the installation process step-by-step:
Step 1: Mark the Wall
Using your measuring tape, mark where you want your shelves to be installed. A good rule of thumb is to space the shelves at least 12 to 18 inches apart, depending on the size of the items you’ll be storing. Use a pencil to outline the height of each shelf and ensure they are level by using the level tool.
Step 2: Install the Mounting Brackets
Once your marks are made, it’s time to install the mounting brackets. Position each bracket according to your previous measurements. Using your drill, attach the brackets to the wall with screws, ensuring they are secure. If using L-brackets, make sure that you’re drilling into studs for maximum strength.
Step 3: Prepare the Shelves
If you chose wooden shelves, sand any rough edges to prevent splinters. Consider treating the wood with a moisture-resistant finish to prolong its durability, especially in Middleburg’s climate.
Step 4: Place the Shelves on the Brackets
After preparing the shelves, carefully place them onto the installed brackets. Ensure that they sit snugly and securely. You can use screws to secure the shelves to the brackets for added stability, particularly if you plan on storing heavier items.
Creative Shelving Ideas for Your Middleburg Shed
Now that your shelves are installed, think creatively about how to maximize their usage. Here are some shelving ideas tailored for your Middleburg shed:
Vertical Storage Solutions
Consider using vertical storage systems that utilize the height of your shed. Install tall shelving units that can store long-handled tools, pots, or even gardening supplies seamlessly. This approach frees up valuable floor space and keeps items organized.
Color-Coded Bins or Baskets
Plastic bins or woven baskets can be great for keeping smaller items organized on your shelves. Label each bin or basket according to its contents, such as tools, paints, or seasonal decorations. This makes it easy to find everything you need at a glance.
Incorporating Hooks and Racks
In addition to standard shelving, consider adding hooks or racks to the underside of shelves for further storage. Hang items like gardening tools, extension cords, or even small containers that can hold screws and nails, creating an efficient use of space.
Maintaining Your Shed Shelves
Once your shelving is installed and organized, it’s important to maintain it to ensure longevity. Regularly check the shelves for signs of wear or damage, particularly in humid conditions. Clean the shelves periodically to prevent buildup and keep them looking fresh.
Seasonal Organization Adjustments
As seasons change, so do your storage needs. In Middleburg, you may have summer items like lawn chairs and winter items like shovels. Adjust your shelving setup according to seasonal requirements, storing off-season items higher up and making seasonal essentials easily accessible.
Conclusion
Installing shelving in your Middleburg shed can transform it into an organized and efficient workspace. By understanding your storage needs, selecting the right materials, and employing creative shelving ideas, you’ll maximize every square inch of your shed. Remember to consider your climate when choosing materials and to regularly maintain your shelves for durability. With these tips, your shed will become a functional area that meets all your storage requirements without the clutter.