
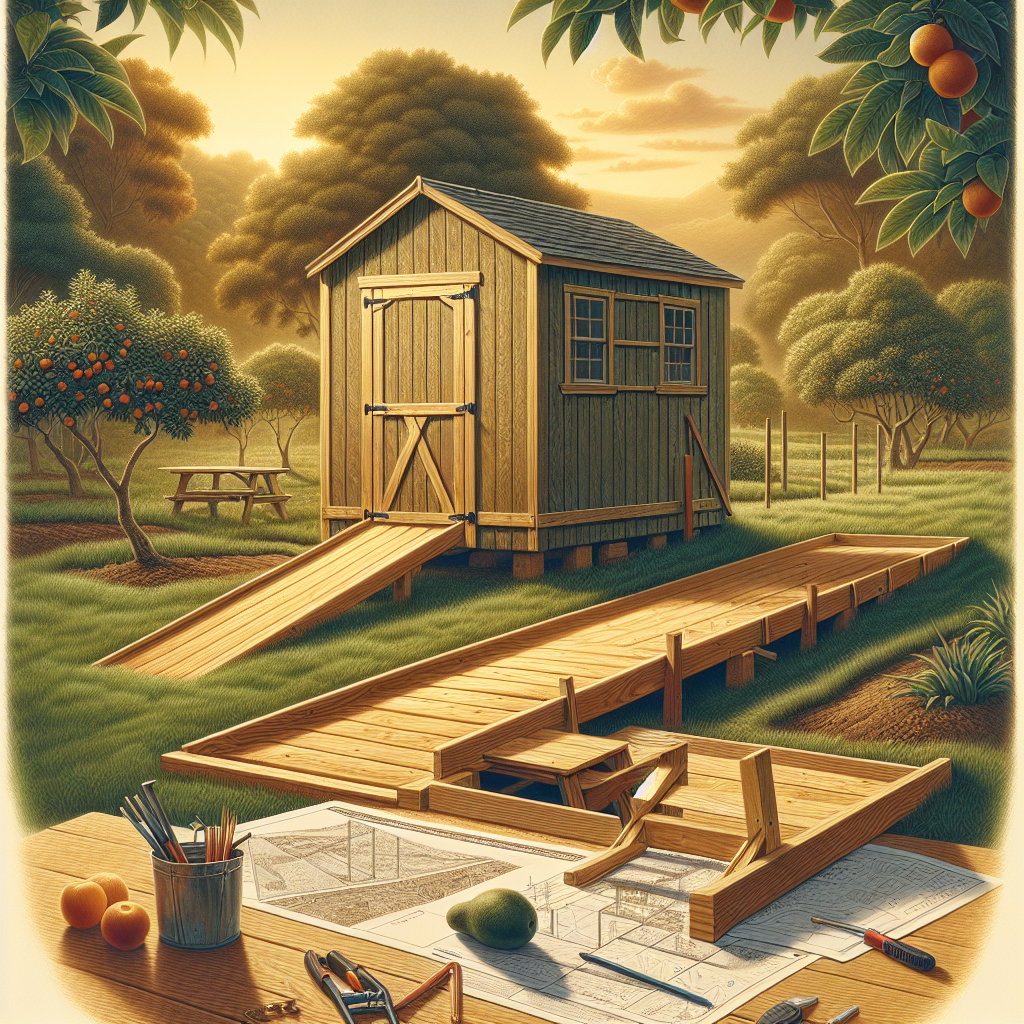
Building a ramp for your DIY shed is not just a matter of convenience; it enhances accessibility, functionality, and aesthetics of your outdoor space. A well-designed ramp allows you to easily move tools, gardening supplies, and equipment in and out of your shed without the hassle. In this guide, we’ll walk you through the steps of constructing a sturdy shed ramp, specifically tailored for homeowners in Fruit Cove, where the terrain may require certain considerations due to its unique landscape.
Why You Need a Shed Ramp in Fruit Cove
In a beautiful place like Fruit Cove, where outdoor projects abound, having a ramp can make all the difference. Consider how often you need to access your shed. If it’s everyday tools or seasonal decorations, a ramp minimizes strain and boosts efficiency. The average slope of less than 1:12 for a ramp ensures a smooth transition from the ground to the shed, reducing the risk of accidents.
Benefits of a Properly Constructed Ramp
1. **Accessibility:** Especially helpful for those using wheelbarrows or carts.
2. **Durability:** A good ramp withstands the weight of various items without warping or collapsing.
3. **Aesthetic Appeal:** A well-built ramp can add visual interest and blend seamlessly with your shed and surroundings.
Materials Needed for Your Ramp
Before diving into construction, you’ll want to gather all necessary materials and tools. Here’s a simple list to ensure you have everything at hand:
– **Pressure-treated lumber:** You’ll need this for the framework and surface of the ramp. Going for 2x4s or 2x6s, depending on expected load.
– **Deck screws:** To secure your lumber together firmly.
– **Wood glue:** Optional, but it adds extra strength to joints.
– **Sandpaper:** Essential for smoothing out rough edges to prevent injuries.
– **Concrete anchors:** If securing it to a concrete base.
– **Hammer or drill:** For assembly.
Optional Considerations
– **Non-slip surface treatment:** This is crucial in maintaining safety, particularly after rain.
– **Paint or stain:** To protect the wood and enhance appearance.
Planning Your Ramp Design
An effective ramp design is key to success. Take into account your shed height and the space available in your yard. Your ramp should have a gentle slope for ease of use. Measure the height from the ground to the shed door; this will guide you in determining the length of the ramp. Ideally, a length of 12 feet is recommended for every foot of height.
Measuring and Cutting Your Lumber
1. **Measure twice, cut once:** Start by accurately measuring your ramp’s length and width. Based on your earlier measurements, mark and cut your lumber accordingly.
2. **Angle cuts:** The ends of your ramp boards may need to be cut at an angle, depending on your design to facilitate a smoother incline.
3. **Smooth edges:** Use sandpaper to round out any sharp edges. This helps prevent injury when using the ramp.
Constructing the Ramp
Now that you have your plans and materials, it’s time to build. Here’s a step-by-step guide to follow:
Creating the Frame
Begin by building a sturdy frame for your ramp:
1. Lay out your two longer pieces of lumber for the sides. The shorter ones will connect them at the top and bottom.
2. Attach the cross-supports at intervals (typically every 2 to 3 feet) using screws or wood glue. This provides extra stability.
3. Ensure everything is level before securing everything tightly.
Attaching the Surface
Next, you’ll want to secure the surface boards that create the walking surface of your ramp:
1. Lay the 2x4s or 2x6s perpendicular to the frame across the support beams. Leave small gaps between them for drainage.
2. Secure them with screws, making sure to drill down through each board into the support structure beneath.
3. Check your work for stability and any loose ends. Tighten screws as necessary.
Finishing Touches
The finishing details can enhance both safety and aesthetic appeal:
– **Non-slip methods:** Apply a non-slip coating, or use textured paint to provide grip.
– **Staining or painting**: Seal the ramp to protect against the elements, especially in the humid climate of Fruit Cove.
– **Landscaping around the ramp**: Adding plants or decorative stones can complement your garden and shed area.
Maintaining Your Shed Ramp
Once your shed ramp is complete, regular maintenance will prolong its life. Periodically check for:
– Signs of wear, especially in high-traffic areas.
– Loose screws or insecure boards.
– Damage from weather, particularly after heavy rains or storms.
Regularly applying a sealant can also protect your ramp from moisture and decay.
Tips for the Unique Terrain of Fruit Cove
Remember, Fruit Cove has varied terrain. Opt for materials that can withstand moisture if your shed is near water. Maintain proper drainage to prevent water damage. If you live in an area prone to heavy rain, considering an elevated design can also improve your ramp’s durability.
Conclusion
Constructing a DIY shed ramp in Fruit Cove not only helps improve accessibility but also allows you to enjoy your space without struggle. By following this detailed guide, equipped with thoughtful planning and quality materials, you can create a ramp that serves your needs for years to come. Happy building!