
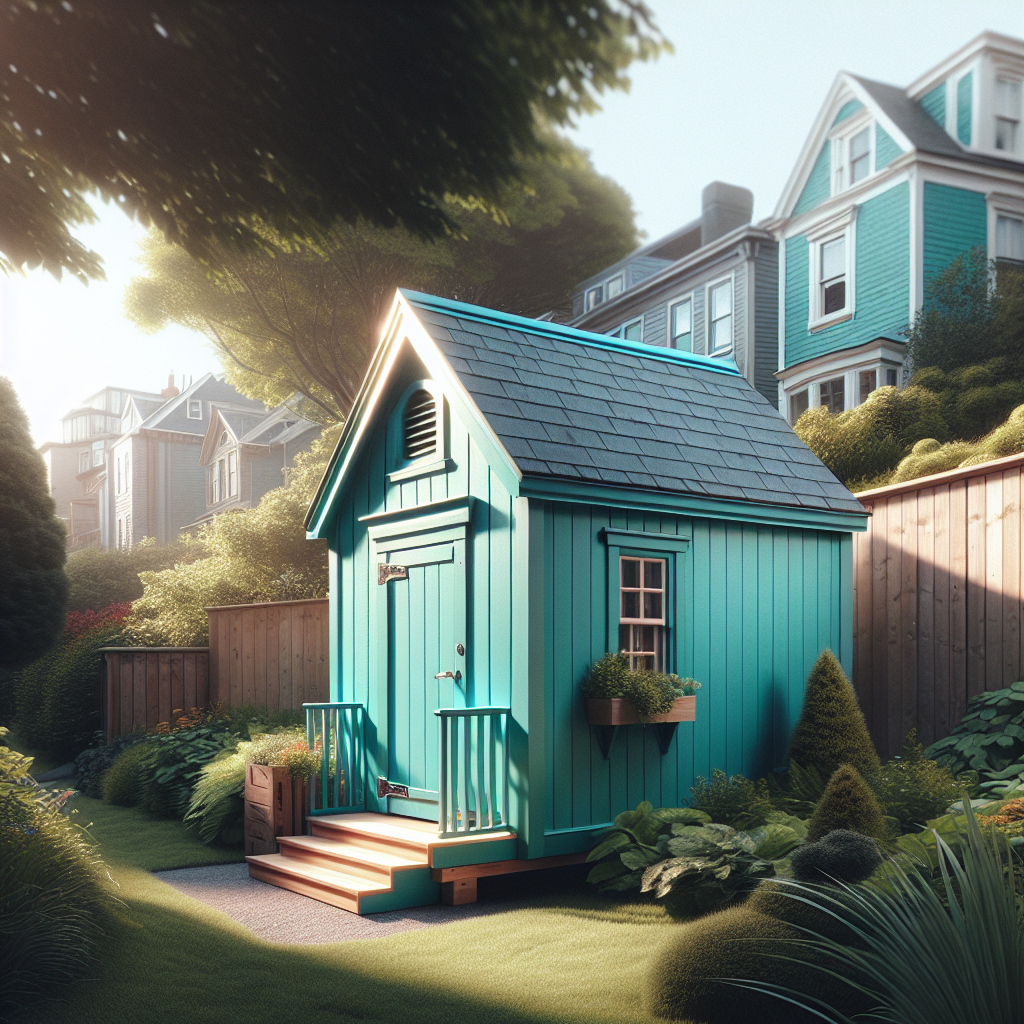
For many homeowners in St. Johns, the shed is more than just a storage space; it’s a valuable asset that can enhance your property’s appeal and functionality. One of the easiest and most effective ways to rejuvenate your shed is through a fresh coat of paint. But, before you grab that brush, there are a few essential shed painting tips that can help you achieve a professional-looking finish.
Why Shed Painting Matters in St. Johns
Maintaining the exterior of your shed not only improves its appearance but also protects it from the elements. The right paint can prevent rot, mold, and deterioration, especially in the varied climate of St. Johns. Color also plays a significant role; a well-painted shed can complement or even enhance your home’s curb appeal. So, let’s explore some DIY shed painting tips that will help you get started.
Choose the Right Time for Shed Painting
Before you begin, timing is crucial. Painting your shed during the right weather conditions will ensure better adhesion and a smoother finish.
Check the Weather
Optimal temperatures for painting are between 50°F and 85°F. Avoid painting during wet or humid conditions as moisture can affect dryness and adhesion. In St. Johns, keep an eye on the forecast. Choose a day when there is little to no wind and no chance of rain.
Prepare Your Shed Properly
Like any successful painting project, preparation is key. Start with a clean surface. Remove dirt, mildew, and old peeling paint to ensure your new coat adheres well.
Tools and Materials Needed for Shed Painting
Having the right tools will make your job much easier. Here’s a list of essentials you’ll need:
- Exterior-grade paint (latex or oil-based)
- Paintbrushes and rollers
- Drop cloths
- Sandpaper or a power sander
- Paint primer
- Protective gear (gloves, goggles)
- Ladder
It’s essential to use high-quality exterior paint made for your shed’s material, whether it’s wood, metal, or vinyl. If you’re unsure, consult with your local paint store.
Choosing the Right Paint
Quality paint is crucial, especially for outdoor surfaces subject to weather extremes. Look for:
- Durability: Select paints that resist fading, peeling, and mildew.
- Finish: Satin or semi-gloss finishes are often recommended for sheds as they provide durability and are easier to clean.
- Color: Consider colors that blend well with your home and surroundings. In St. Johns, earthy tones often work well.
Prep Work: Priming the Shed
Proper priming is essential, especially if you are painting raw wood or switching colors. A good primer not only enhances the paint’s adherence but also blocks out stains.
How to Prime Your Shed
Apply primer with a brush or roller uniformly. Make sure to cover all cracks and crevices. After applying, allow it to dry completely as per the manufacturer’s instructions.
Painting Techniques for a Flawless Finish
Once the shed is prepped and primed, it’s time to paint. Use the following techniques for the best results:
Use a Brush for Corners and Edges
Start with a brush around corners, edges, and trims. This ensures thorough coverage and minimizes drips.
Roll for Larger Areas
After the edges are done, use a roller for larger expanse areas. This method saves time and provides a more consistent application. Remember to work with the weather; the paint should be applied in sections to avoid visible lines when it dries.
Mind the Details: Clean Up and Maintenance
Once you’ve finished painting, be sure to clean up your equipment while the paint is still wet. Proper storage of your tools can help them last longer, which can save you money in the long run.
Let the Shed Dry
After painting, allow ample time for the paint to dry. Check the instructions for drying times, and avoid placing items back into the shed until everything is thoroughly set.
Regular Maintenance of Painted Sheds
Even after a job well done, maintenance is essential. Regularly check your shed for any signs of wear or moisture issues. Addressing small problems early can save you from larger repairs later. Every couple of years, you may want to consider refreshing the paint, especially in an area like St. Johns where weather can be unpredictable.
Additional cleaning and touch-up painting, particularly around areas that are more exposed to elements, can keep your shed looking great for years.
Final Thoughts on DIY Shed Painting Tips for St. Johns Homes
Painting your shed is not just a simple DIY task; it’s an opportunity to express your style while protecting your investment. By following these tips and taking your time with preparation, material selection, and painting techniques, you can create a stunning shed that complements your home beautifully. Remember that regular upkeep will go a long way in preserving the beauty and function of your shed.
So, grab those brushes and make your shed a point of pride in your St. Johns property! Happy painting!