
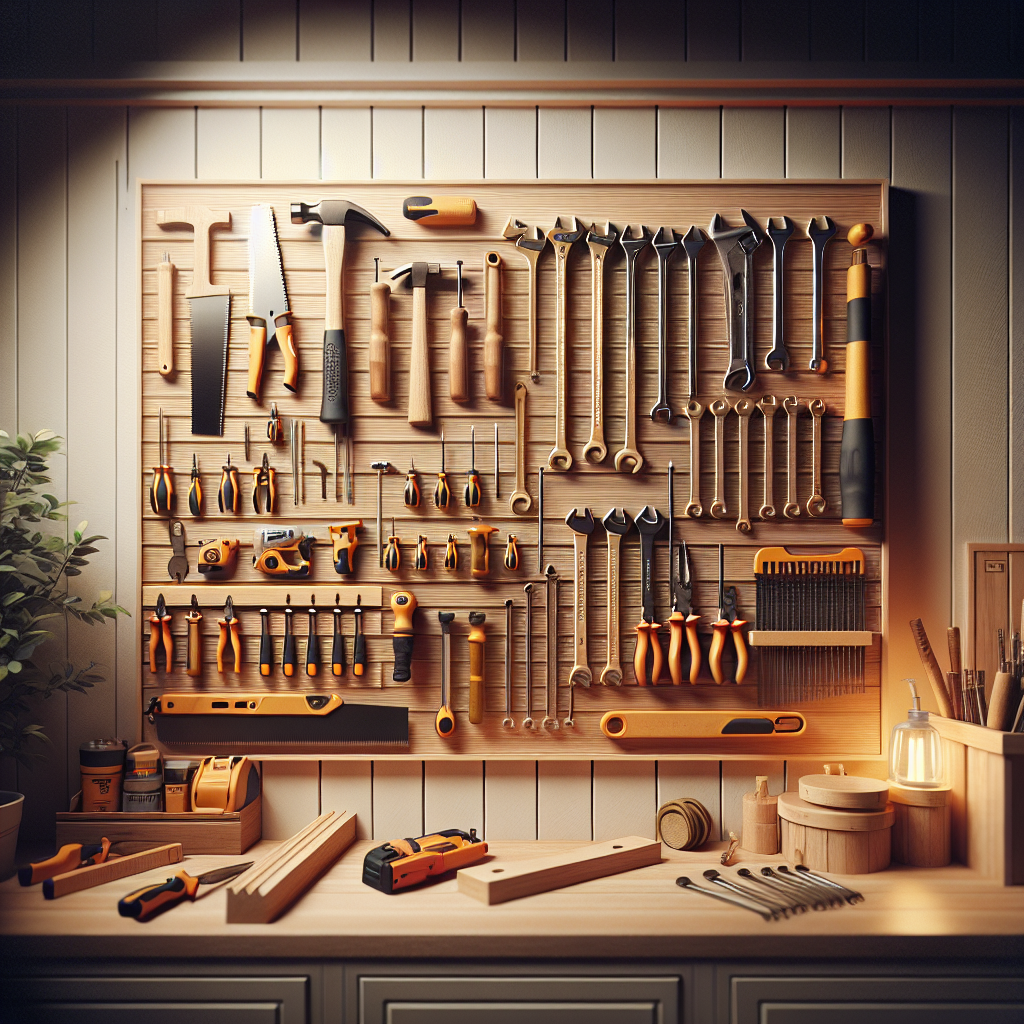
Build Your Own Shed Tool Wall: A Practical Guide
In the heart of every gardening or woodworking enthusiast is the dream of a perfectly organized tool space. Using a tool wall to store your equipment not only improves efficiency but also helps protect your tools. Creating a calm, organized workspace is a practical and rewarding goal for many DIYers.
Today, we’ll walk through how to build an efficient shed tool wall that can instantly transform your shed or workshop into a well-organized space.
Designing Your Tool Wall
The first step in building a tool wall is planning the design. A good design should not only look clean but also maximize your available space.
Start by determining the size of your tool wall. This will depend on the number and types of tools you have. For example, gardening tools, hand tools, and power tools all vary in size and shape, so your layout should account for those differences.
Choosing the Right Materials
Once your design is ready, selecting the right materials is essential. Wood is a common choice, but if you’re looking for something more durable and low-maintenance, metal is also a great option.
Using corrosion-resistant materials is especially important if your shed is exposed to humidity. Durability should always be a top consideration.
Preparing the Necessary Tools
Before you begin building, make sure you have all the tools you need. Typically, you’ll need:
- A saw (manual or electric)
- A drill and screwdriver
- A measuring tape and pencil (for marking)
- Nails or screws
- Hooks and brackets (for hanging tools)
Make sure everything is in good working condition before you get started.
Clearing Your Workspace
Before construction begins, clear out your shed or workspace. This gives you more room to work and helps prevent accidents.
Remove unnecessary items and keep the area clean and organized.
Building Your Tool Wall
Once your design is ready and your space is cleared, you can begin building.
Install the Frame
Start by building a sturdy frame using wood or metal. The frame should be strong enough to support the weight of your tools.
Mark the position on the wall and make sure all corners are securely fixed.
Attach the Panels
Once the frame is in place, attach the panels. These can be simple wooden boards or metal panels designed for tool storage.
Secure them evenly to ensure both durability and a clean look.
Add Hooks and Racks
The flexibility of your tool wall depends largely on how you use hooks and racks.
Choose the right types based on your tools so they can hold different sizes and shapes securely.
Organize Your Tools Properly
Layout matters. Place heavier tools lower and lighter tools higher for easier access.
You can also organize tools based on how often you use them, keeping frequently used items within easy reach.
Improving the Look of Your Tool Wall
To make your tool wall more visually appealing, consider adding some personal touches.
You can:
- Paint the wall a bright or clean color
- Add small plants for a more inviting feel
A personalized design not only looks better but also reflects your style.
Categorize Your Tools
Create dedicated sections for different types of tools.
For example:
- Gardening tools in one area
- Power tools in another
This makes everything easier to find and maintain.
Use Additional Storage Solutions
Beyond hooks and racks, you can add:
- Clear storage bins
- Small drawers
These are perfect for storing smaller tools and accessories, helping keep everything tidy and accessible.
Maintain Your Tool Wall
Once your tool wall is in use, regular maintenance is key.
Check and organize your tools periodically (weekly or monthly) to ensure everything stays in place and the space remains clean.
Conclusion
A DIY shed tool wall not only improves efficiency but also enhances the overall look of your workspace. With thoughtful design, the right materials, and proper organization, you can create a functional and visually appealing storage solution.
Keeping your space clean and organized makes every project more enjoyable. Whether you’re a beginner or experienced DIYer, a tool wall can make your work easier and more efficient.
Final Thoughts
We hope this guide inspires you to start your own DIY project. A tool wall can transform your space and give your tools a proper home.
Most importantly, don’t forget to enjoy the process.