
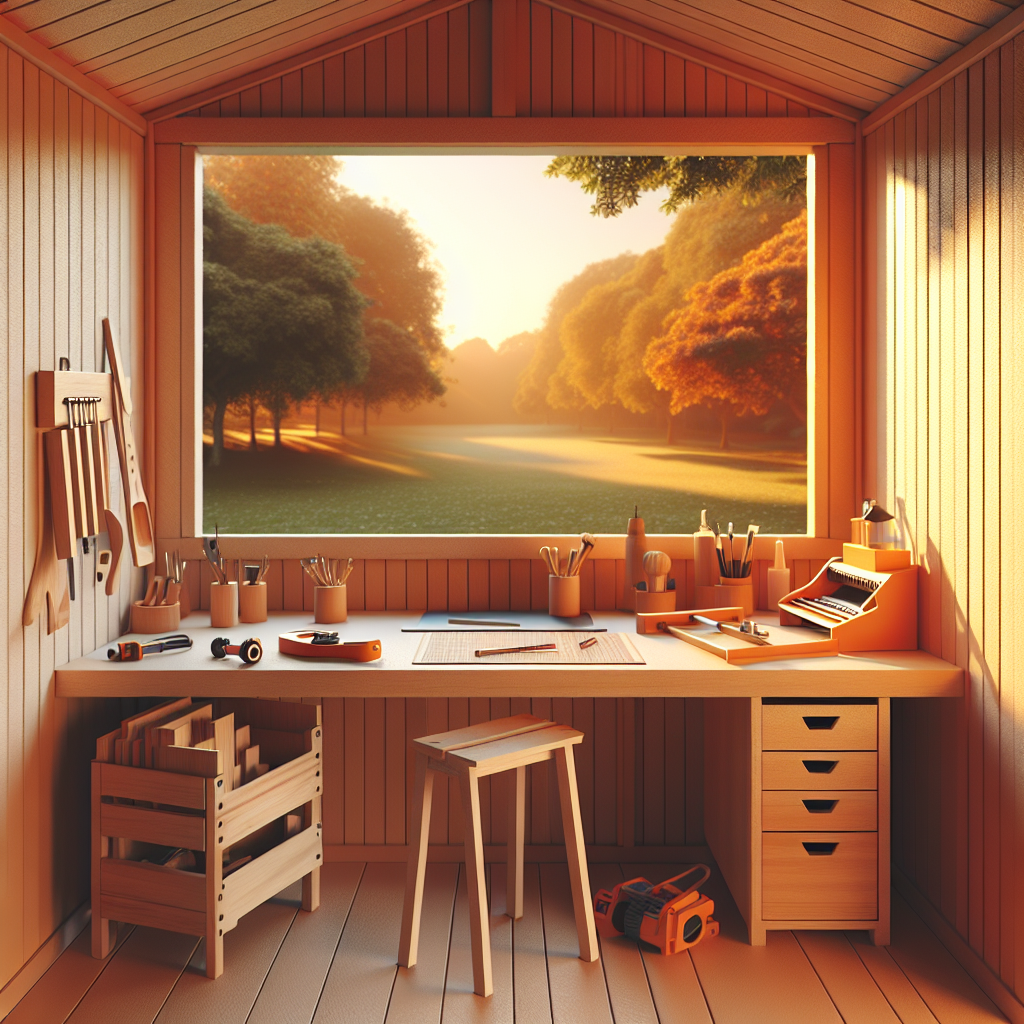
Creating a DIY shed workstation is a fantastic way to enhance your outdoor space, especially in a beautiful community like Orange Park. A well-constructed workstation transforms a simple shed into a functional and enjoyable space for various hobbies and projects. Whether you’re into woodworking, gardening, crafting, or just need a place to organize your tools and materials, building a workstation in your shed can elevate your productivity while lending an aesthetic touch to your yard.
Designing Your Shed Workstation in Orange Park
The first step towards creating your perfect shed workstation is planning the design. Consider the available space and how you intend to use it. Will you predominantly use this station for woodworking, or do you need an area for potting plants? Understanding your primary activities will help shape the layout.
Choosing the Right Location
When it comes to positioning your shed, daylight is crucial. If your shed workstation can bask in the natural sunlight of Orange Park, you’ll find the experience more enjoyable. Position your shed away from towering trees that may obstruct light or drop unwanted debris. A flat, well-drained area is also essential to prevent water from pooling around your workstation.
Structuring the Space
Once you have a plan and a location, start sketching out your workstation layout. Measure the interior of the shed and think about key components you would like to include:
– **Workbench:** A sturdy surface is necessity for any DIY project.
– **Storage:** Shelves and cabinets to keep tools and materials organized and out of the way.
– **Seating Area:** If you plan to spend time working on detailed projects, adding a comfortable chair is smart.
Building the Workbench
A workbench is the heart of your shed workstation. It not only needs to be functional but should also fit well within your shed’s overall aesthetic.
Materials Needed
For a solid and durable workbench, you will need:
– Plywood or MDF boards for the surface
– 2x4s or 2x6s for the frame and legs
– Wood screws
– Wood glue and clamps
Begin by constructing a frame using the 2x4s or 2x6s. Ensure it is properly squared and secured with screws. The height should be comfortable for your use; generally, 36 inches is a good standard but adjust based on personal preference.
Surfacing the Workbench
After the frame is complete, cut the plywood or MDF to size and attach it to the top. Sand the surface until it’s smooth, ensuring there’s no snags for your tools or materials. You might want to finish it with a sealant to protect the wood from the elements if your shed is not fully insulated.
Maximizing Storage Solutions
A workstation can quickly get cluttered without proper storage. Luckily, there are plenty of innovative ways to maximize your space in your shed workbench area.
Using Wall Space
Install pegboards or wall-mounted shelves above your workbench. These provide easy access to tools and frequently used accessories. Hooks and bins can be functional and aesthetically appealing.
Rolling Carts and Lockers
Consider adding a rolling cart with drawers that can be moved where needed. If you have enough space, a small locker could store hazardous materials safely away from reach, particularly if kids are around.
Creating a Comfortable Environment
Once your workstation is built, think about comfort. Spending hours in a shed can sometimes feel isolating, especially on warm days typical for Orange Park. Some steps to create a pleasant atmosphere can include:
Good Lighting
Lighting is crucial. Natural light is always best, but supplemental LED lights can help during evening hours. Consider adding adjustable task lighting above your work area to reduce shadows and improve focus.
Ventilation
Working with wood or any DIY projects can produce dust and fumes. Ensure your shed has adequate ventilation or consider installing a small fan to keep air moving. If you’re working with chemical products, invest in a small exhaust fan.
Personalizing Your Shed Workstation
Your shed workstation should reflect your personal style and interests. It’s your creative space, after all!
Aesthetics and Personal Touches
Think about painting the interior of your shed in bright colors or adding wall decals that inspire creativity. Display tools as art or hang quotes that keep you motivated while you work. Making this space your own can enhance your productivity and enjoyment.
Seasonal Decor
If you like to create a welcoming atmosphere, consider changing decorations with the seasons. Bright flowers in spring, autumn leaves in fall, and cozy lights for winter can all make the space appealing year-round.
Conclusion
Building a DIY shed workstation in Orange Park brings unparalleled satisfaction and utility to your backyard. A well-designed workstation will not only improve your workflow but also create a personal retreat where you can escape for some hands-on fun. With thoughtful planning, adequate storage, and a few personal touches, your shed can evolve into a space that inspires creativity and productivity. Now that you have an understanding of how to build a functional and beautiful shed workstation, it’s time to gather your tools and bring your vision to life!